Whether you’re considering signing a new lease this year or you’re just ready to make minor career changes that will have a huge impact, we’ve got the salon decor ideas you need.
Below, you’ll find an in-depth guide on how to decorate your hair or beauty salon space — complete with real-life examples.
Work with what you’ve got, get creative on a budget, and keep function front-of-mind. (This is where you work after all!)
Above all: Have some fun. The following steps will keep you on track.
Note: While we focused on hair and beauty salons in this guide, you can absolutely use these design tips for any industry or workspace.
Good taste is always adaptable, like designing a chic fitness studio, learning barbershop design basics, or decorating a beautiful massage therapy room.
How to Decorate a Hair or Beauty Salon (+Salon Decor Ideas!)
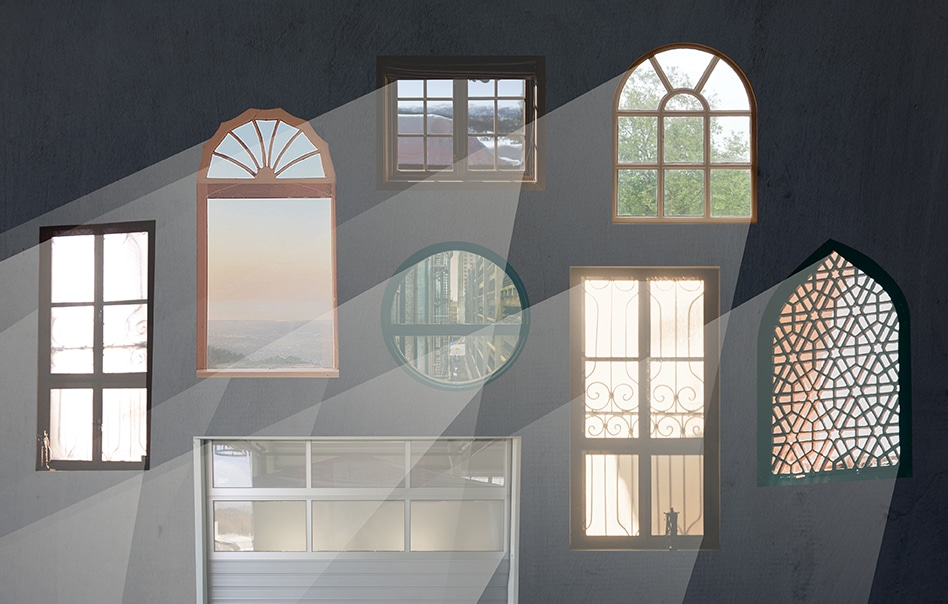
1. Plan Your Layout Around Natural Light
Natural light makes every space feel bigger, plus it helps with photographing before-and-afters or other content for your salon social media channels.
(See our notes under “Plan Your Lighting” below for more on that).
Even if you’re not blessed with much of it, maximize what you’ve got.
That means going without curtains in favor of some much-needed daylight and organizing your furniture around natural light sources.
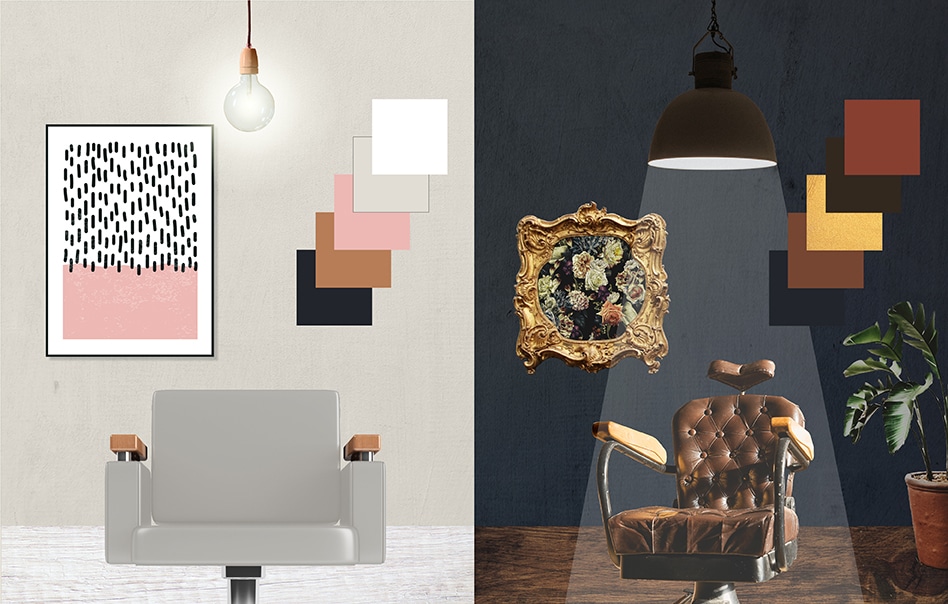
2. Pick a Color, (Almost) Any Color
One of the best ways you can give your salon or studio a refresh on a budget is with paint.
It doesn’t have to be the whole space, either. An accent wall is a great way to punch things up.
If you’re looking for some ideas on current color trends, head over to Backdrop, which is an online paint service that offers a curated palette of colors.
There are also incredible peel-and-stick wallpapers, which are a great way to add an unexpected accent wall to your space and can be easily removed if you’re just renting.
Not all colors work for a public space, though.
Unless you’re embracing a darker, den-like atmosphere (which could look great in certain barbershops), you’re probably going to want to keep your color palette warm and bright.
When in doubt, go white/minimal on the walls, then pick a pop of color to repeat throughout your space.
Furniture is a great way to do this.
Oh, and a good rule of thumb is to keep it to one accent hue or maybe two complementary ones. This allows you to go bold but not busy.

3. Don’t Be Afraid of Open Space
It’s tempting to fit in as many booths, chairs, or seating areas as possible, but the more open space, the better.
Especially right now.
Beyond the six-feet concern, though, open space also creates a sense of calm — exactly what we need when we’re coming in for a little self-care.
Added bonus: The less stuff you have in your studio, the less expensive a design or redesign will be! But don’t forget the salon (or barber) toolkit basics.
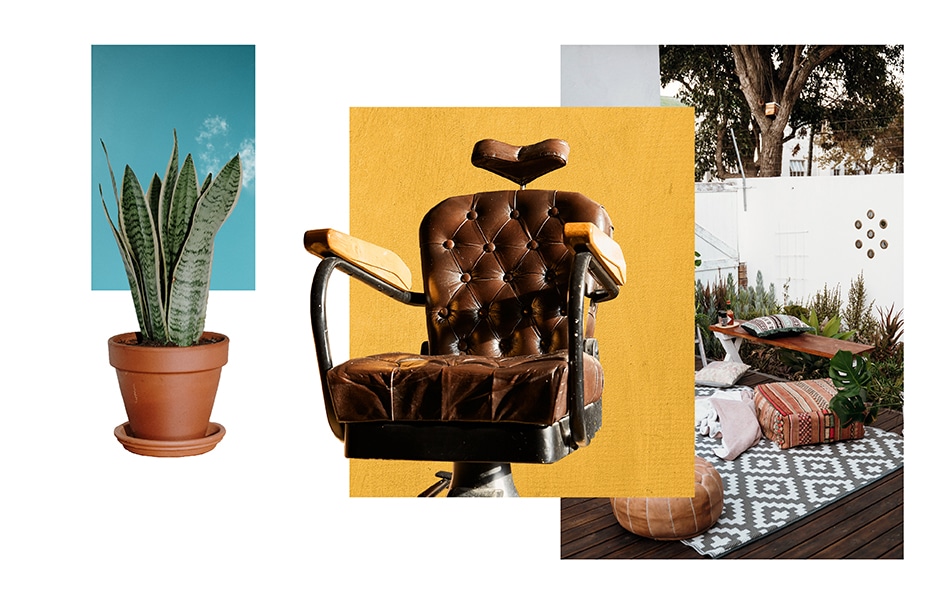
4. If You Have Outdoor Space, Use It
If you’re low on interior space but have some outdoor real estate, USE it.
Whether that’s setting up an area for photo shoots (a great move if you don’t have much natural light in your interior) or a waiting area for guests outside, don’t be afraid to get creative.
Maybe it’s even where you do your cuts!

5. Plan Your Lighting for Before & Afters
When she was starting out, Elizabeth Faye, the founder of Hair Love Retreat, would beg a fellow booth renter to use her area to take Instagram photos.
She needed better lighting than she had at her own chair. Faye made the shuffle work, but she’d be the first to tell you that it was not exactly ideal.
These days, having a social following is essential for any salon business.
Factor that into your studio or salon layout by designating at least one area in your space where you can take photos of your clients, new products, or of any other projects you’re working on.

6. Don’t Forget a Dedicated Product Area — Preferably Right in Front of Your Guests
Upselling is a powerful thing. Here’s how to automate it with Schedulicity.
Make sure your product shelves look beautiful and that clients can easily take a closer look at them while they wait for their services.
Or, better yet, position your product shelves where clients can see them during their appointments.

7. And Don’t Forget to Organize!
Think about what you need and when and where you’ll need it.
Then, take it one step farther: Think about how to design your salon and booth space so that it’s always convenient for a client.
Where will they put their bag? Are they easily able to reach for magazines and water?

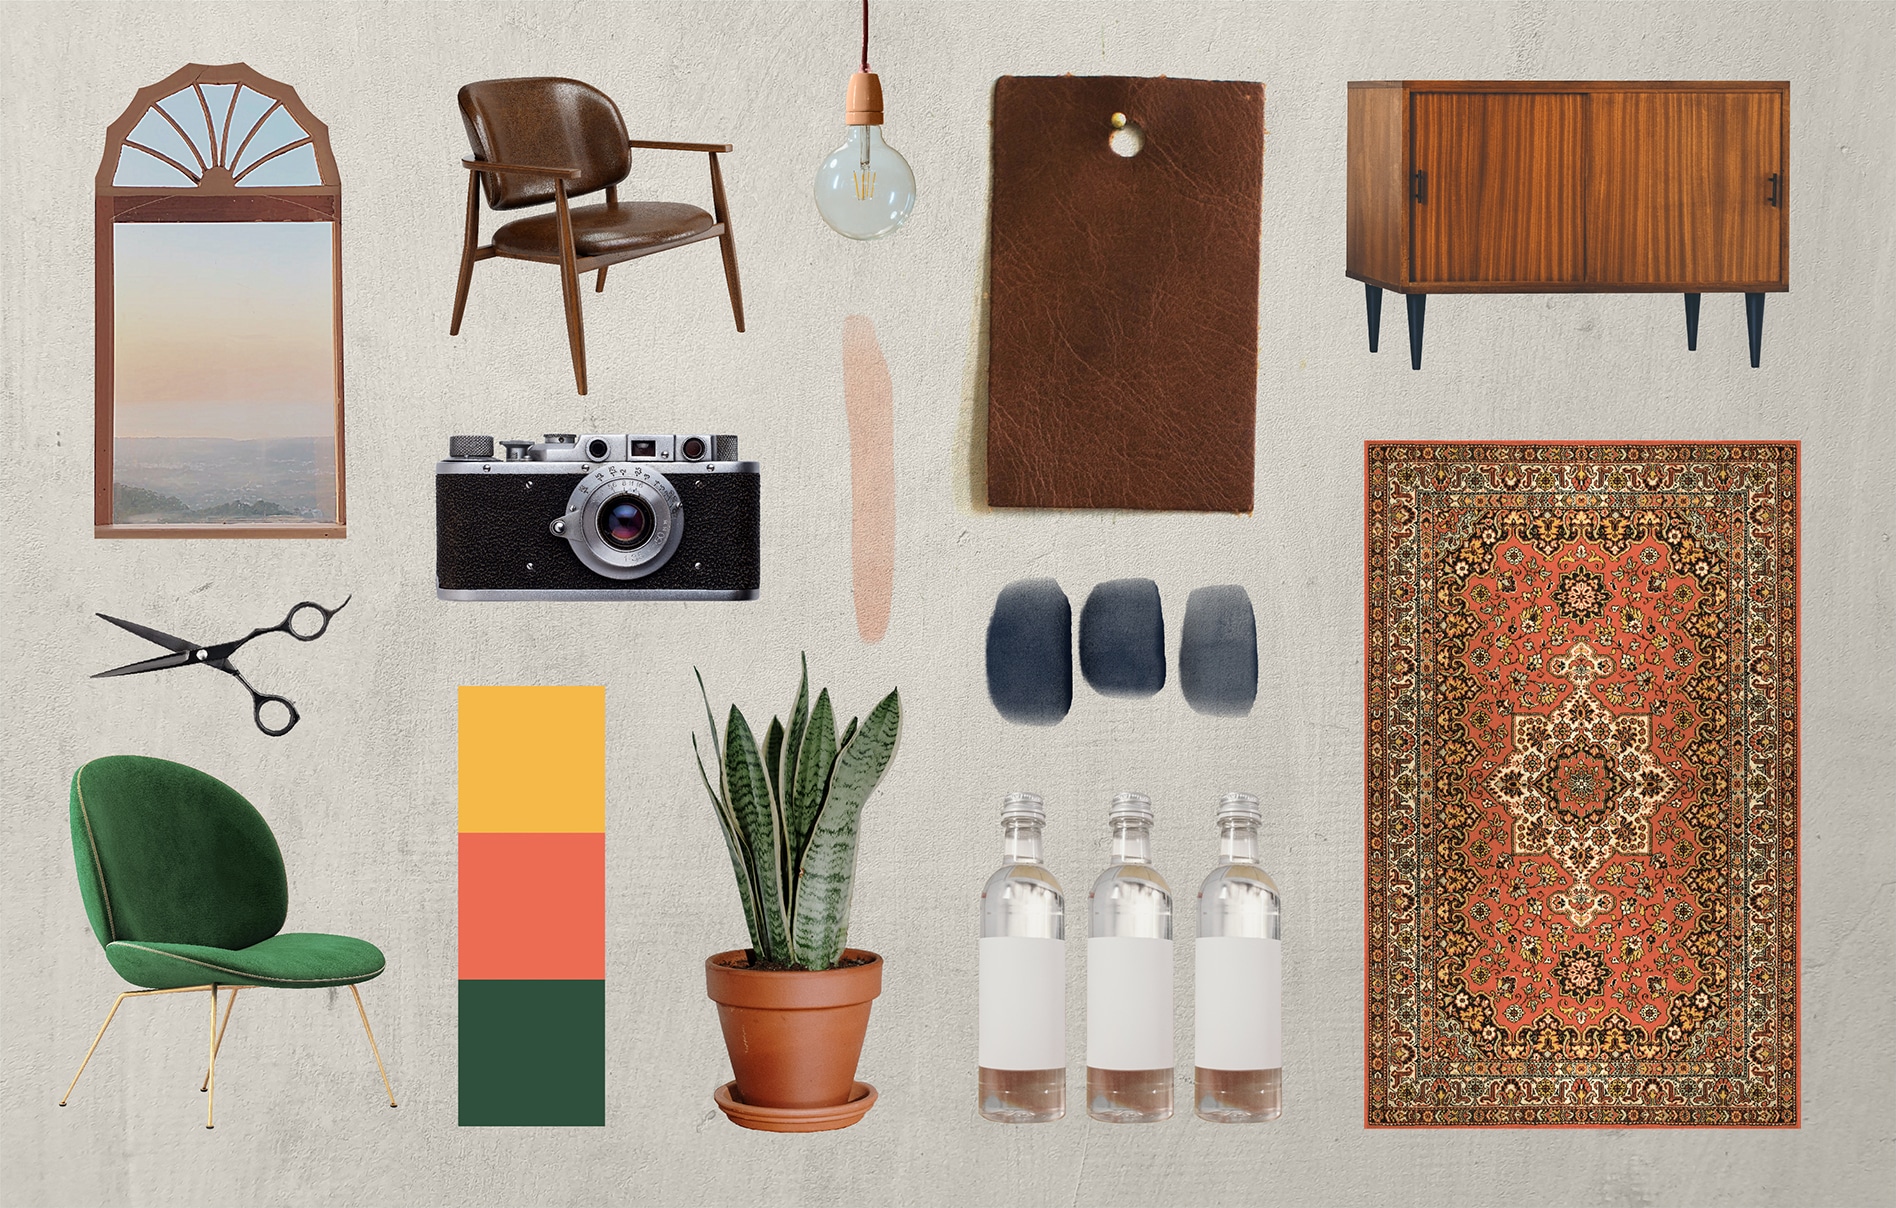
8. Count on the Little Details
The leather chairs, the neon signage, the mid-century credenza at check-in — whichever way your aesthetic skews, details matter. Don’t skimp.
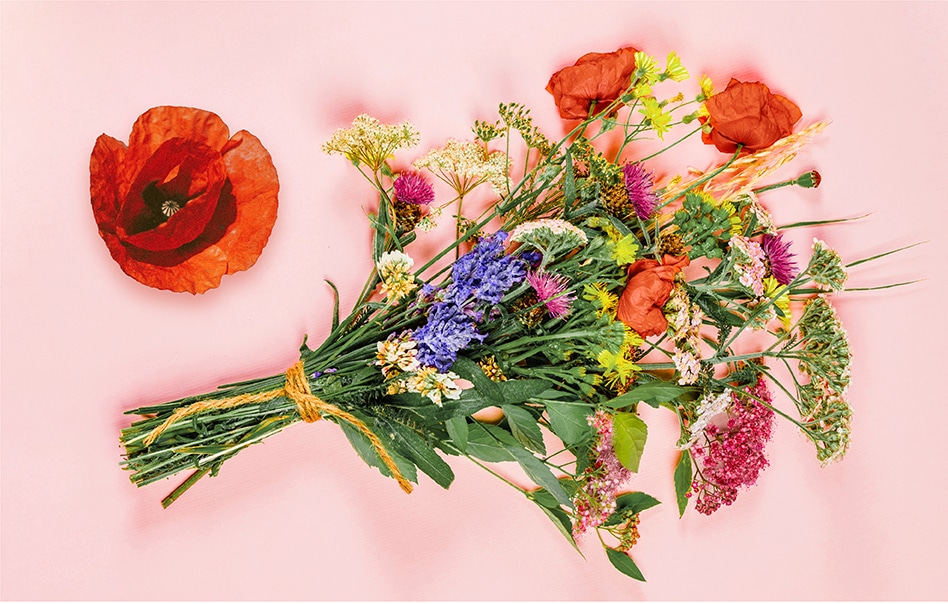
9. Finish Up With Fresh Flowers
Live greenery instantly elevates any space.
You can make your own bouquets from cheap bunches you buy at flower markets or even your local Trader Joe’s.
Pick a color scheme, start with a big bouquet at your front desk, then echo it with smaller bouquets throughout the space to tie everything together.
Or go evergreen with dried eucalyptus or potted plants. Just remember to water them.
10. Eliminate Paper Clutter
One of the best ways to streamline your business space is to cut paper clutter from scheduling and payments.
If you haven’t signed up for Schedulicity already, do it today and get your free 14-day trial!