

Schedulicity makes it easy for service providers to see how their account will look and function before signing up.
If you’re considering signing up:
- Watch a Schedulicity demo
- Sign up for a free 14-day trial, or…
- Read about what to expect in your Schedulicity account below
Whichever way, we’re here to make sure you know exactly what to expect from your new booking software. 🤓
Schedulicity Demo: Business Account Tutorial
- My Dashboard: What Can I Find There?
- How to Add a Service
- How to Add a Provider
- How to Edit a Provider’s Schedule
- How to Add a New Client
- How to Edit Client Profiles
- How to Set Up Your Business Listing
- What’s in the Policies Area?
- How to Get Paid on Schedulicity
- Schedulicity Marketing Tools
My Dashboard: What Can I Find There?
Think of My Dashboard as home base.
It’s the first page you see when you log into your account.
It shows your schedule for the day + a week in advance.
You can also see your unique booking link, a revenue report, and a handy Schedulicity checklist to make sure your account is fully set up.
Along the left side of your screen, you can find the quick menu with links to:
- My Dashboard
- Guest Checkout
- Calendar
- Class Calendar (which is especially helpful for health and wellness providers)
- Workshops
- Clients
- Marketing
- Payments
- Settings
- Resources in the Education Portal

How to Add a Service
One of the first things you’ll do after signing up for Schedulicity is add your services:
- Click the gear icon along the left to go to Settings.
- Choose Services.
- Select “Add New” at the top right of the page.
- Add the name, description, whether it’s hidden or not, duration, price, and cleanup time.
- When you’re all done, don’t forget to click Save.
What do you mean by “hidden service”?
If your service is hidden, that means it’s available to schedule by you only. Clients can’t book that service when visiting your booking page.
What is processing time?
Schedulicity takes the time you’d normally wait for another client and instead opens it up as another bookable time slot –– during processing time.
This way, you can fit in more appointments during the day instead of waiting around.
What is cleanup time?
If you’d like buffer time between appointments to clean up or prep your station, you can add cleanup time to the appointment. This is a great option for hair and beauty providers.
Any cleanup time is added to the total duration of the service that you see on your end, but NOT to the total that clients see.

How to Add a Provider
Whether it’s just you or you have employees (or both!), you need to create provider profiles.
- Head to Settings (aka the gear icon along the left).
- Click Providers/Instructors.
- Choose to +Add New.
- Fill out their name and a quick bio.
- Is this provider accepting new clients? Toggle on or off.
- When you’re all done, hit Save.
- Repeat if you have more than one provider.
💡Pro Tip: Don’t forget to set up appointment notifications! Schedulicity offers email and text notifications for providers, so you know right away when a client books with you.
How to Edit a Provider’s Schedule/Availability
Now that the provider profile is built, you can adjust their (or your!) work schedule/availability.
- Go to Settings.
- Click on the “Providers/Instructors” tile.
- Click on the provider name in the list.
- Select the “Schedule” tab.
- Click “Edit” in the Schedule box.
- Enter the scheduled hours for each day of the week.
This will adjust what is displayed to clients on your booking page as available days and times for this provider.
In the backend, you can always book outside of your business hours if you want. 👌
💡Pro Tip: Got a vacation coming up? Need to schedule a few days off? Check out the Planned Days Off area of the provider’s schedule.

How to Add a New Client
With Schedulicity, there are a few ways clients can be added to your client list.
First, they’re automatically added to your client list when they book online. (This makes client management super easy if a new client books with you.)
If you’re transferring from another booking app, or have a long list of existing clients, you can:
- Manually add clients individually or…
- Import a client list from another booking platform, which our Rockstars can help with for free!
Adding Individual Clients
- Click on the three-line menu in the upper left, and navigate to the Clients tab.
- Click “add new” near the top right corner of the page.
- Enter in their details, tag them if you like, and add “Client Notes.”
(Not to worry, the “Client Notes” are for your eyes only. Clients can’t see them!)
Importing a Client List
When it comes to importing an existing client list, you can import directly from other programs, such as Google, Yahoo, or iCloud.
Or…
You can create your own CSV file to import. Make sure your file has the following fields:
- First name
- Last name
- Email address
- Phone number
- Date of birth
- Notes (3,000 characters max)
- Address with city, state, and postal code
💡Pro Tip: Not too tech-savvy? Schedulicity Rockstars are happy to help! Email your client list to us at support@schedulicity.com, and we’ll gladly import your contacts for you.
How to Edit Client Profiles
Selecting an existing client brings up a lot of options.
You can add a note, manual acknowledging waivers for them, and view upcoming or past appointments.
You can also update their personal details, like their birthday or contact information.
To edit a client’s profile, use the following steps:
- Pull up their client profile.
- Select the “edit” button in the upper right corner of the screen.
- Update their information right there and save your changes.
How to Set Up Your Business Listing
Your Business Listing page — aka your “booking page,” where clients book with you — lives in the Marketing area of your account.
Think of it as a mini website that has everything about your business.
You can:
- Add your logo
- Update your business hours, address, and contact information
- Sync your Instagram feed to showcase your work
- View your providers
- Add your website or social media profiles
- And more!
Get into the nitty gritty of setting up your Business Listing in our Quick Setup Guide, or you can watch our brief tutorial here. 👇
💡Pro Tip: We recommend previewing your listing to see how it appears to clients before you allow clients to book. Simply click the “Preview Listing” button in the upper right corner.
What’s in the Policies Area?
We know policies are an important piece of any small business, so we gave you full control over all your policies.
From the Settings page, choose Policies to adjust a variety of rules for your business, such as:
- General Policies: Decide who can book online, and set timelines for client email and text notifications.
- Appointment Policies: Control service-based appointment details.
- Email Policies: Configure your reply-to email address, and create a custom message for client appointment notifications via email.
- Payment Policies: Set your no-show, deposit, card-on-file, and refund policies.
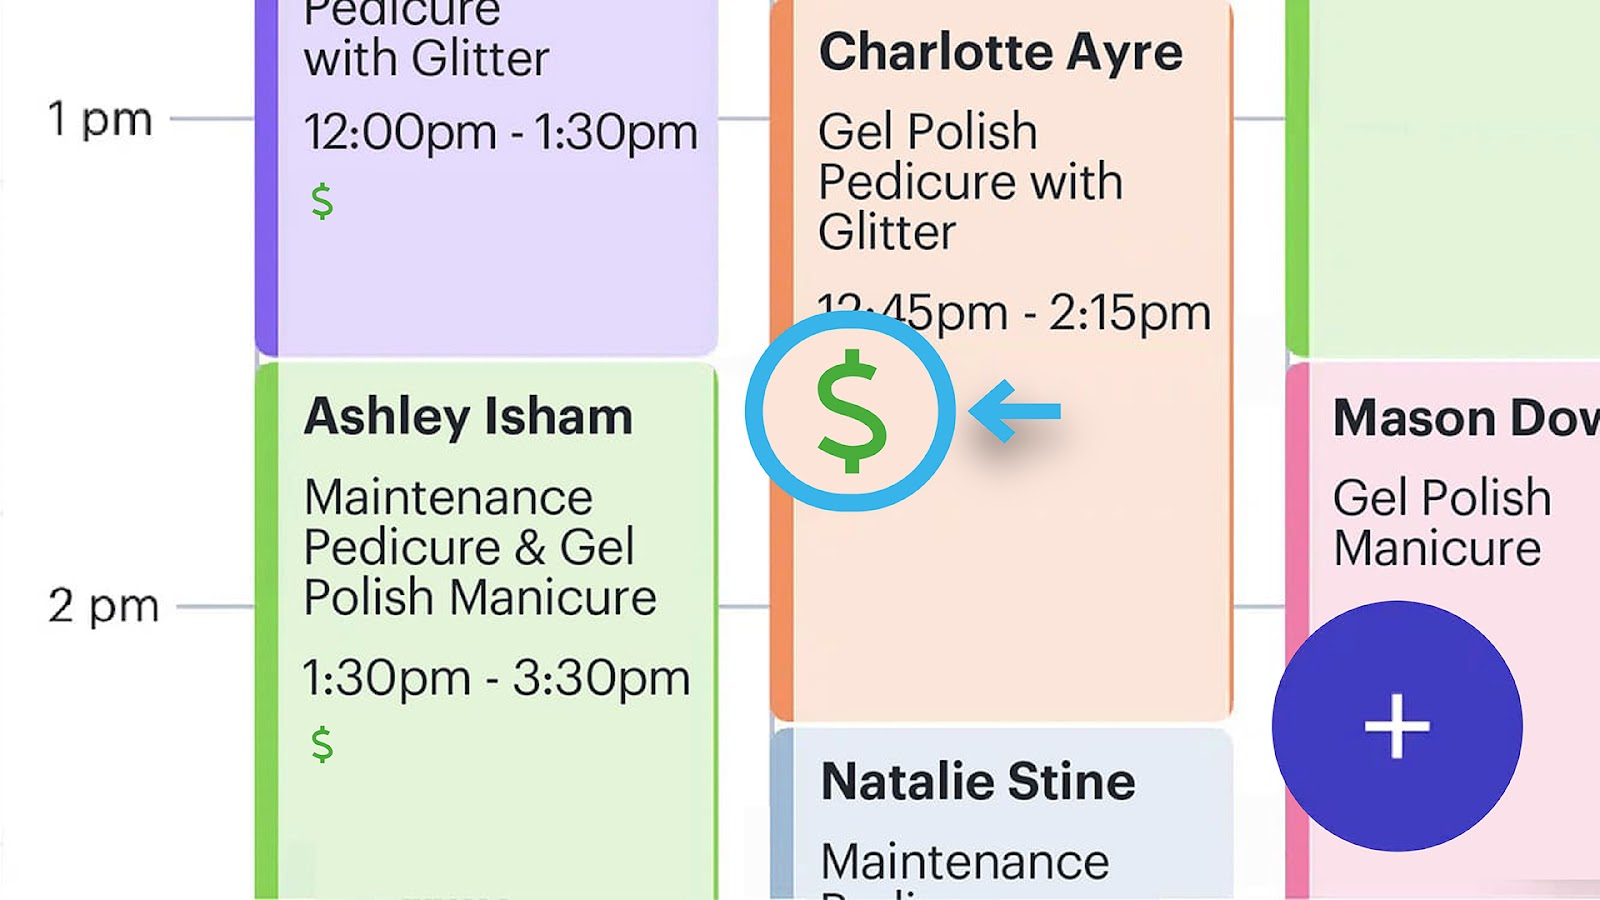
How to Get Paid with Schedulicity
Schedulicity’s built-in payment processing — Schedulicity Pay — keeps your payments and appointments all synced up and trackable.
We keep payment processing fees simple, too, with one flat rate for all payment types:
2.6% + $0.10 for credit, debit, and contactless payments.
With Schedulicity Pay, you can:
- Collect prepayments or deposits from clients
- Charge clients in person with our reliable, fast card readers
- Minimize no-shows and cancellations with customizable payment policies
- Export financial reports you need as a small business owner
- And more!
Schedulicity Marketing Tools
Marketing tools are a game-changer for service providers looking to grow their business.
Schedulicity has the marketing features you need to boost local business and hook new clients.
From Instagram Book Now buttons to built-in email marketing, it’s all in our booking software.
Email Marketing
Send one-off emails to all your clients or a specific group of clients.
Or…
Take advantage of our Automated Marketing tools to create automatic birthday, follow-up, and re-engagement emails.
You can also send automated appointment reminders and confirmations via email (and text!)
Bonus: 8 Cool Things You Can Do With Schedulicity’s Email Marketing Tools
Social Media Marketing
Put your booking link where your clients already are:
- Your website (like Wix, WordPress, or Squarespace)
- The Schedulicity Marketplace
Bonus: How to Add a Book Now Button to Your Instagram
Fill My Book Feature
Schedulicity is here to help you land more clients and make more money.
With our Fill My Book feature, we automatically promote empty appointment slots for the upcoming week and generate deals for those hard-to-book spots.
Bonus: How to Make Extra Money Each Month with Schedulicity
As your personal assistant for all things booking, marketing, and payments, Schedulicity has you covered top to bottom!
Sign up for a free 14 day trial today, and see for yourself how Schedulicity can help you manage (and grow!) your business.


