

It goes without saying: An easy-to-use booking site leads to more appointments. But… How do you ensure your booking page is easy for clients to use?
Here at Schedulicity, we keep things simple. With your business details — offerings, address, employee bios — all neatly organized, it’s easy for clients to find the info they need to book.
So, if you’re thinking of signing up for Schedulicity, or wondering how to set up Schedulicity, here are six ways to get the most out of your booking page.
- Keep Contact Info Up to Date
- Add Business to the Schedulicity Marketplace
- Share Business Info & Provider Bios
- Display Instagram Pics
- Don’t Forget Those Keywords
- Hook ‘Em with Special Offers
- Bonus: How to See What Your Clients See
How to Set Up Your Schedulicity Booking Page
Your Schedulicity booking page — AKA Business Listing — is a crucial part of your business. It’s where clients learn about you and your services, schedule, address, and contact information. And, of course, it’s where clients book their appointments. So, it’s important to keep this page updated and organized.
Keep Your Contact Info Up to Date
When it comes to contact info on your Schedulicity booking site, we’re talking: address, phone number, availability, business website, and even social media links for clients to check you out on Instagram, Facebook, or Twitter.
Set Business Address
- Go to the Marketing area of your account and click on the Business Listing tile
- Select the “Edit” button next to “Address”
- Update your business address
- Hit the “Done” button and you’re good to go!
Add Phone Number
We know you have an online scheduling app to avoid phone calls and voicemails — thank goodness, right?! — but we also know there are instances when a client may need to contact you by phone. For those cases, you want to make sure your business number is current.
- Go to the Marketing area of your account and click on the Business Listing tile
- Select the “Edit” button in the “Hours” section of this page
- Enter your business phone number
- Hit the “Done” button to save your changes
Show Availability
While you set your weekly schedule within your provider profile, you can also display general business hours for clients. Think of it as an open sign in the window. It lets clients know when you’re available for walk-ins — not necessarily when you have appointment blocks open.
- Go to the Marketing area of your account and click on the Business Listing tile
- Select the “Edit” button in the “Hours” section of this page
- Type in your business hours
- Hit the “Done” button to save your changes
Add Website & Social Media Links
Give clients easy access to your business website or social media accounts by popping those links in right on your Business Listing page.
- Go to the Marketing area of your account and click on the Business Listing tile
- Select the “Edit” button in the “Hours” section of this page
- Under Social Links, type in or paste the links you want to share
- Hit the “Done” button to save your changes
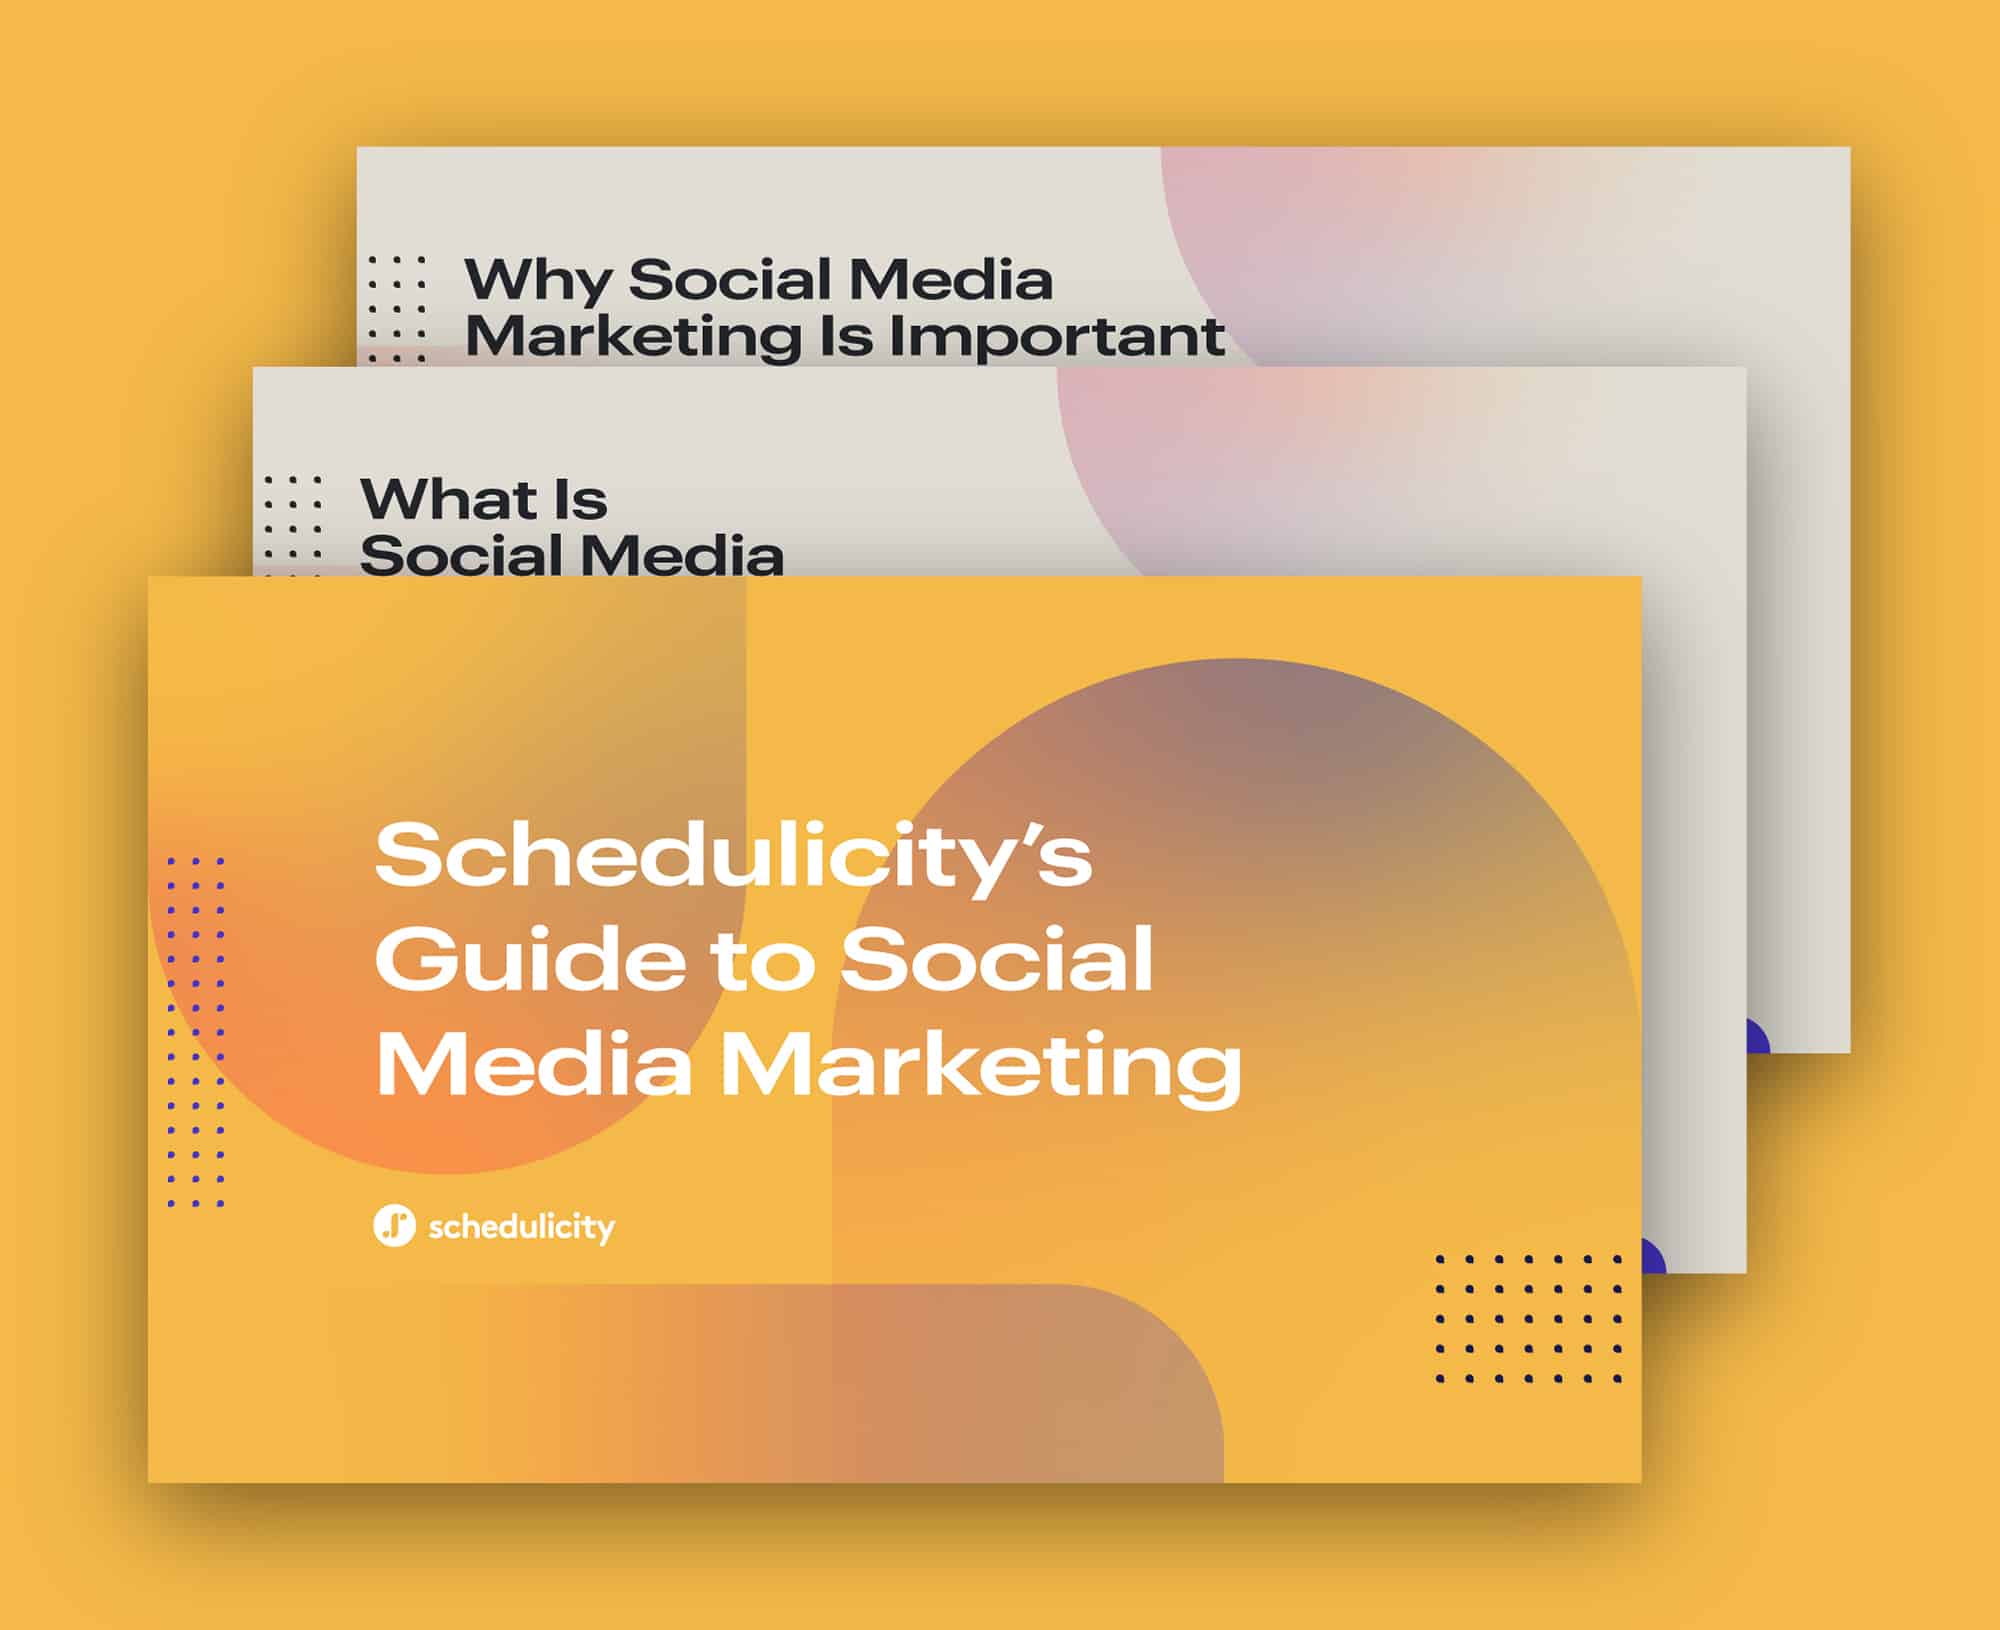
Social Media Marketing 101
Deep-dive into trends, tools, and hashtags that will take your brand – and small business – to the next level.
Get the GuideAdd Your Business to the Marketplace
With Schedulicity, an online scheduling app, you have the ability to keep your booking page private. This means you can share your booking site with only clients you want to book — or you can add your business to Our Marketplace for new clients to find you in your area.
As a heads up, you will need to be on the Unlimited Plan to add your business to Our Marketplace!
Head to the Marketing area of your account to enable your Marketplace visibility:
- Go to the Marketing tab and click on the Business Listing tile
- Click the “Display In Search Results” button where it says your business does not display in The Marketplace search results
If you want to hide your listing:
- Go to the Marketing tab and click on the Business Listing tile
- Select “Remove From Search Results”
- Opt to “Hide Listing”

Share Business Info & Bios
Wanna share a little background on your business with clients? Or maybe you have additional instructions for booking that clients should know?
The About section on your booking site is the perfect place to share these details. Plus, don’t forget to add a little bio for yourself in your provider profile. Clients can get to know you and your staff that way, too!
The About Section
- Go to the Marketing area and click on the Business Listing tile
- Select the “Edit” button in the “About” section
- Update your business info
- Hit the “Done” button to save
Service Provider/Employee Bios
If you added a bio to your provider profile, it will display on your booking page as well. While a bio is not necessary to include, it is a great way to share a little bit about yourself to help clients get to know you before they make an appointment.
- Head to Settings and click on the “Providers/Instructors” tile
- Then choose the provider whose information you’d like to edit from the list
- You can then update your provider description by selecting the “edit” button in the upper right hand corner of the screen
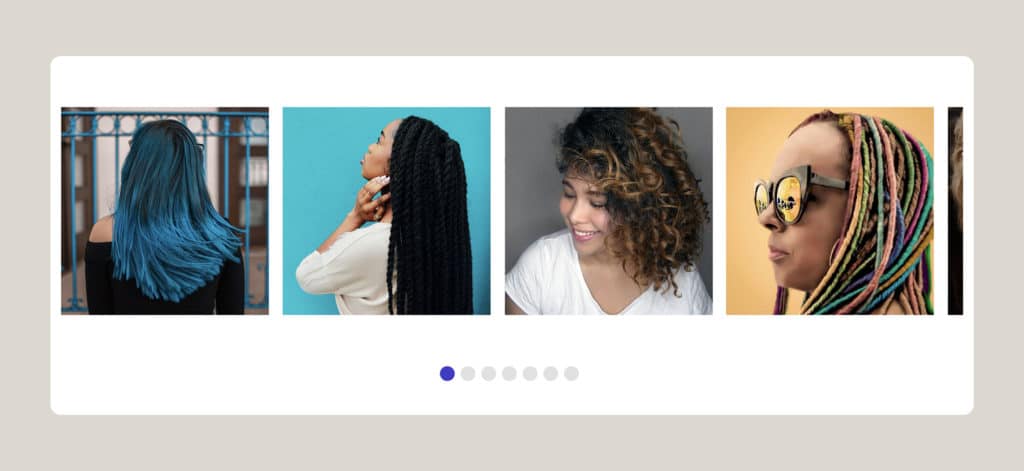
Display Your Instagram Profile
Instagram is a great way to showcase your portfolio of work, especially if you’re in the salon business.
If you have a professional (or personal!) Instagram account to show off your work and connect with clients, you can link it your booking page. Doing this automatically displays your Instagram profile. It’s a great way to share a visual example of what you offer right where clients book appointments!
- Navigate to the Marketing tab and select the “Business Listing” tile
- Under the “Instagram” header, select the “Connect to Instagram” button
- Click the “Enable Instagram” button
- Log into your Business Instagram account and you’re all set!
Don’t Forget Those Keywords
As we mentioned above, you have the option to be in the search results for Our Marketplace, where millions of clients can find your business. And if you are going to be visible in The Marketplace, you can choose which keywords you want to associate your business with.
As an online booking app, Schedulicity did some of the heavy lifting for you. Your business name and industry are already included as keywords. Sprinkling in your own keywords increases your chances of new clients finding your business when searching for you on Schedulicity!
For example, if you run a salon in Atlanta, you might want to choose “hair salon” and “hair salon Atlanta” as your keywords. Maybe include some of your services: “cut and color”, “women’s/men’s haircuts”, or “special occasion hair”.
Add Keywords
- Go to the Marketing area and click on the Business Listing tile
- Hit the “Edit” button in the “Hours” section
- Scroll down to the Business Keywords section
- Add in any keywords you wish
- Make sure to click “Done” to save your changes!
Hook ‘Em with Special Offers!
If you happen to using Schedulicity Unlimited, our Deal Manager tool is a handy way to create and share deals for clients. You can choose to display those deals on your booking page. Once you’ve set your deals live, they’ll display at the top of your booking site to entice new clients to make an appointment ASAP (or at least before the expiration date)!

Bonus: How to See Your Booking Page in Action!
Now that you have all your info updated, Instagram connected, and your deals ready to roll, it’s time to see how your booking page looks! From your business account, we make it simple to see exactly what your clients see on their end…
- Open Marketing and click on the Business Listing tile
- Click “Preview Business Listing” button in the upper right-hand corner of the screen
- A new window will open in your browser displaying your Schedulicity business listing from the client’s side!


