From automatic appointment reminders to automated marketing tools, the world of automation is there to save time and energy for small business owners.
And hey, we could all use a little extra time, right?
Here at Schedulicity, we know how important that little extra time can be for our businesses.
That’s why, on top of automated reminders and marketing tools, each Schedulicity account also comes with a handy revenue automation tool.
It’s called Auto Billing, and it’s an easy way to automatically bill clients monthly for appointments or classes — leaving you more time to focus on what you do best.
In this blog, we’ll give you the scoop on automated billing systems and why they’re helpful. Plus, we’ll show you how our automated billing system works and how it can help boost revenue for your business!
Looking for the steps to set up Auto Billing on your Schedulicity account? Feel free to jump ahead. 👇
- What is an automated billing system?
- How does automated revenue help?
- How do I set up Auto Billing on Schedulicity?
What Is an Automated Billing System?
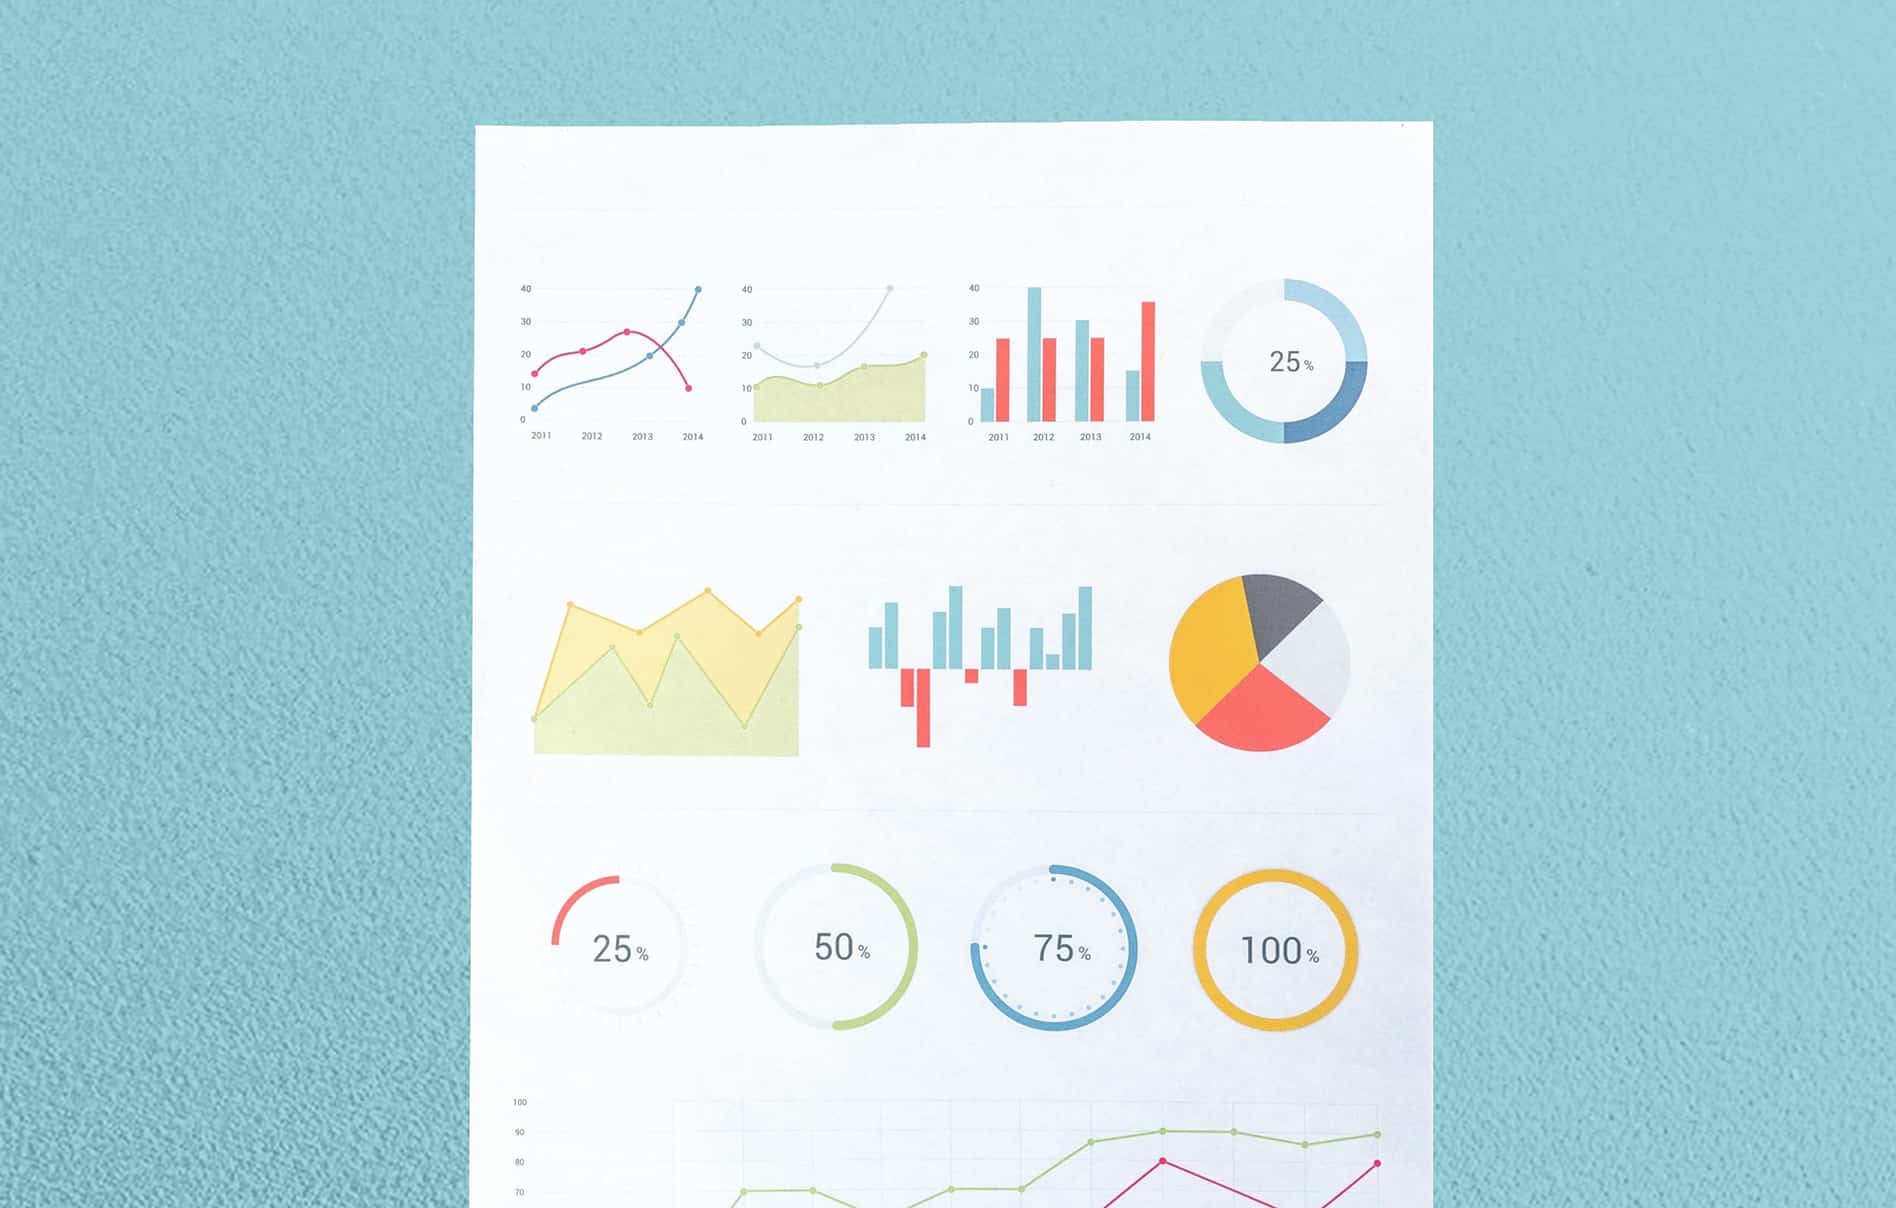
Automated billing systems can be a super handy tool for small business owners. They’re a way to keep revenue coming in each month with little effort from the business owner.
But what exactly is an automated billing system? And how does it work?
Also known as auto-invoicing or Auto-Billing (with the Schedulicity booking app), an automated billing system is the “process of using a software system to define, qualify, and then automate the creation and sending of invoices to clients and customers on a one-time or recurring cadence.”
With minimal hands-on work from the business owner, revenue can automatically be collected in the background.
Which brings us to our next bullet point…
How Does Automated Revenue Help Small Business Owners?
Efficiency. That’s the name of the game with automated revenue — saving time for small business owners and bringing in a steady stream of income all behind the scenes.
But there are other perks for small business owners as well:
- Consistency: By automatically billing a client on the specific date you choose, you can always count on that income. Plus, you don’t have to worry about remembering to charge a client every month or each time they come in for a service or class.
- Efficiency: Automatically billing clients each month saves time. It also saves on paper and cuts back on administrative costs.
- Data Management: By using an automated billing system, you can guarantee that the correct amount will be charged each month and you have a traceable report to look back on previous charges.

What Kind of Money-Maker Are You?
Let’s talk money, honey! Spend it, save it, hustle for it.
Take the QuizHow to Automate Income Using the Schedulicity Booking App
Now that we know what automated billing systems are used for and how they can benefit you as a small business owner, let’s take a look at how you can use Schedulicity’s booking app to set your clients up with automated payments each month.
Auto Billing with Schedulicity
Schedulicity’s Auto Billing feature allows you to charge your clients monthly for a specific amount of services, unlimited classes, or workshops. After you have them all set up on their client profile, you can sit back, relax, and let the money roll in!
As a heads up, you’ll need to be on our Unlimited Plan and be connected with a payment processor. If you don’t have payment processing set up on your account just yet, you can check out our how-to guide for connecting a payment processor.
How to Set It Up
- Head to your client list and choose the client you want to set up with Auto Billing.
- From their profile, select the “Add Auto Billing button” and choose Monthly Services, Unlimited Monthly Classes, or Workshops.
- If a credit card is currently stored on the client’s profile, the system will use that card info; otherwise, you’ll enter the client’s card info on the next screen.
- Choose the Amount, Start and End Date, and client’s email address for receipts, then click Save!
The client will be billed on the day you choose as the start date, and the auto-billing payments will run into the end date.
How to Apply Auto Billing at Checkout
If you need to check out a client that has Auto Billing turned on in their profile for a set amount of monthly services, check out these steps:
- Head to your calendar and click on the appointment to open the Details page.
- Select the “Checkout” button (the grocery cart icon in the top right).
- Click the 3 vertical dots after the service name to expand the menu and select Apply Auto Billing from there.
- You’ll notice the remaining sessions listed there.
- Continue to click through the prompts by entering in the payment method to continue through the gratuity process.
- Then you’ll see the option to print or email a receipt!