WIDGET TUTORIAL
Make appointment scheduling from your website easier.
Add your Schedulicity booking page on your website for faster appointment scheduling your clients will love.
Let’s get started.
1. Pick what you’d like on your website.
You can choose from two types of widgets (or use both!). If you want to see what they look like live, we have an example for you!
-
 Schedule Now button: This button will bring your clients from your site, to your booking page on Schedulicity.
 -
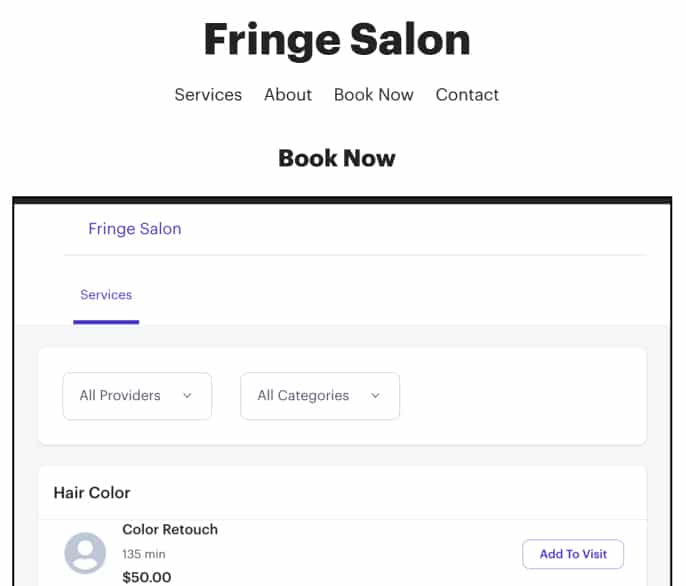
 Scheduling widget: Put your booking process directly into your website.
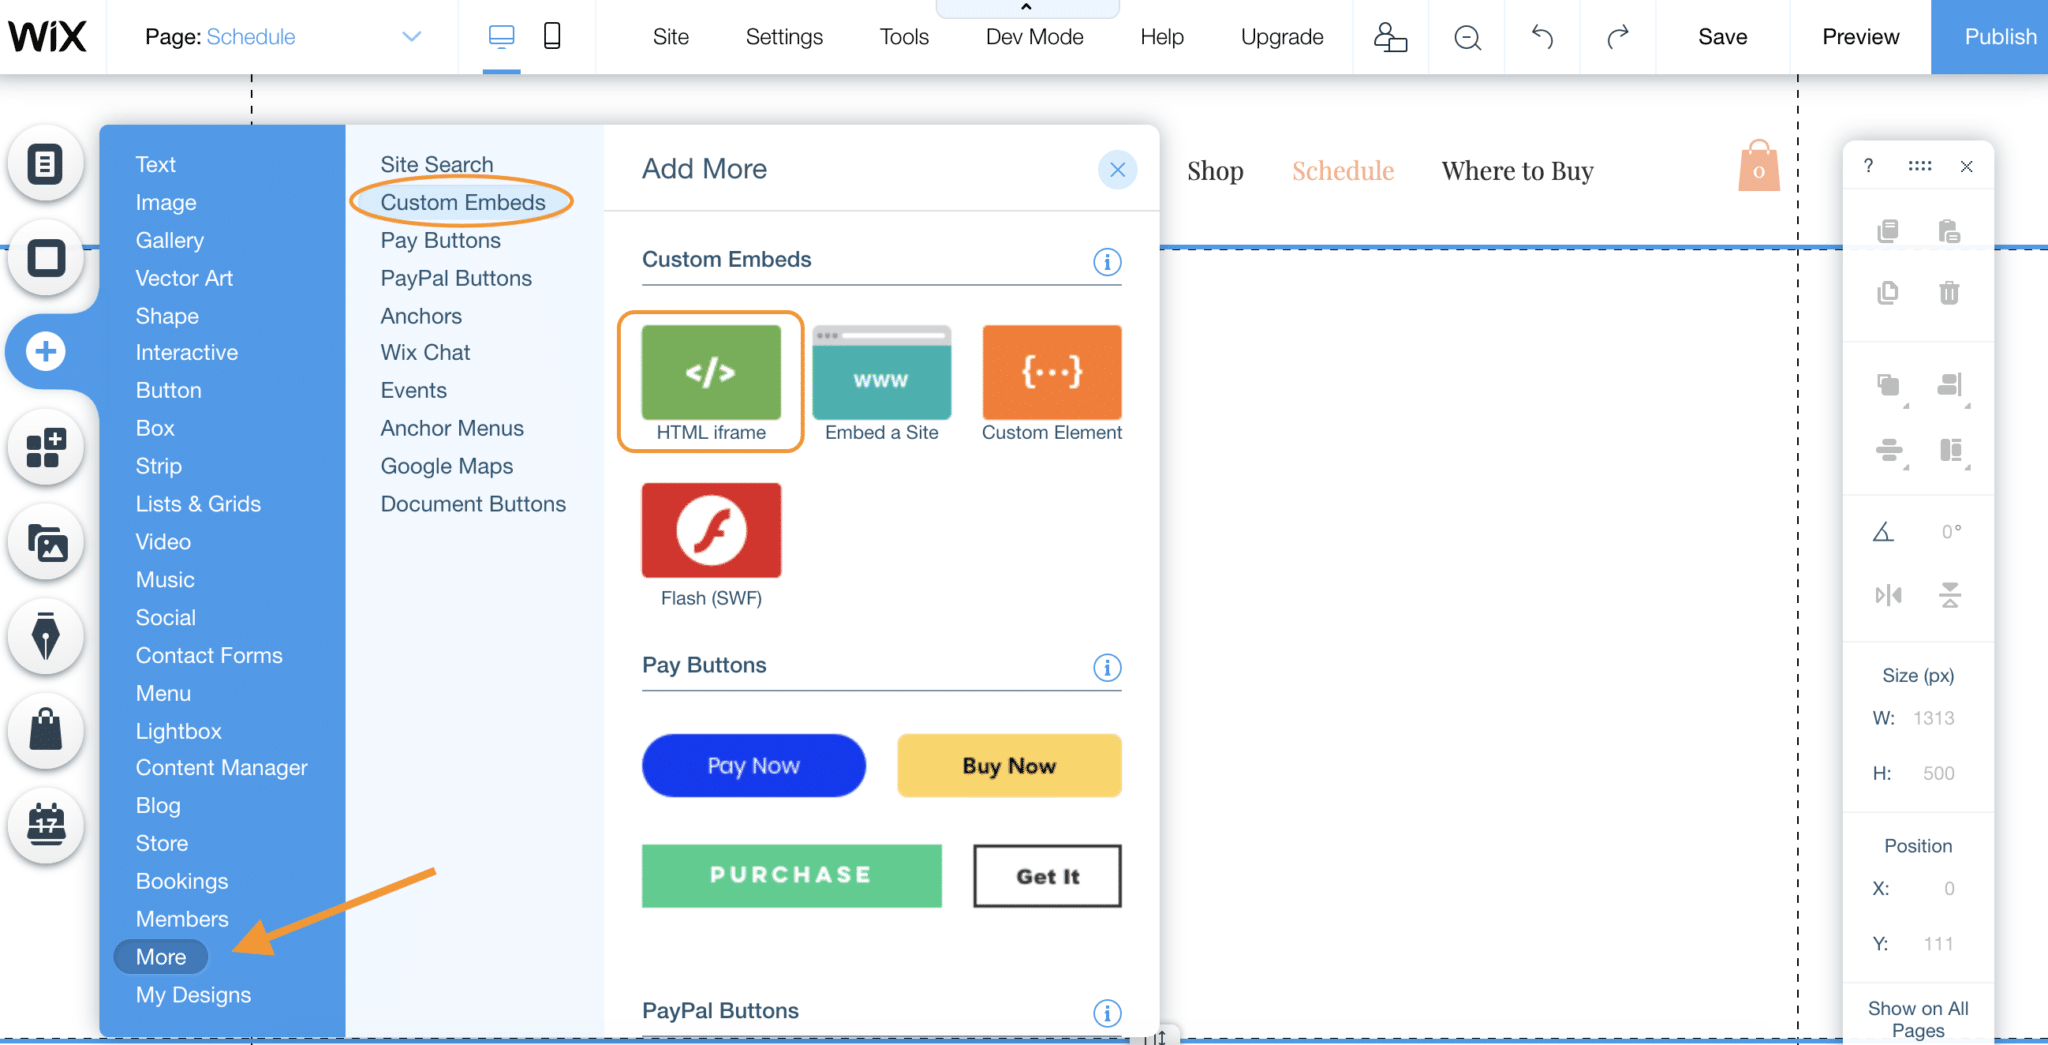
2. Once you’ve picked which widget you’d like to use, you’ll need to grab the code for your website.
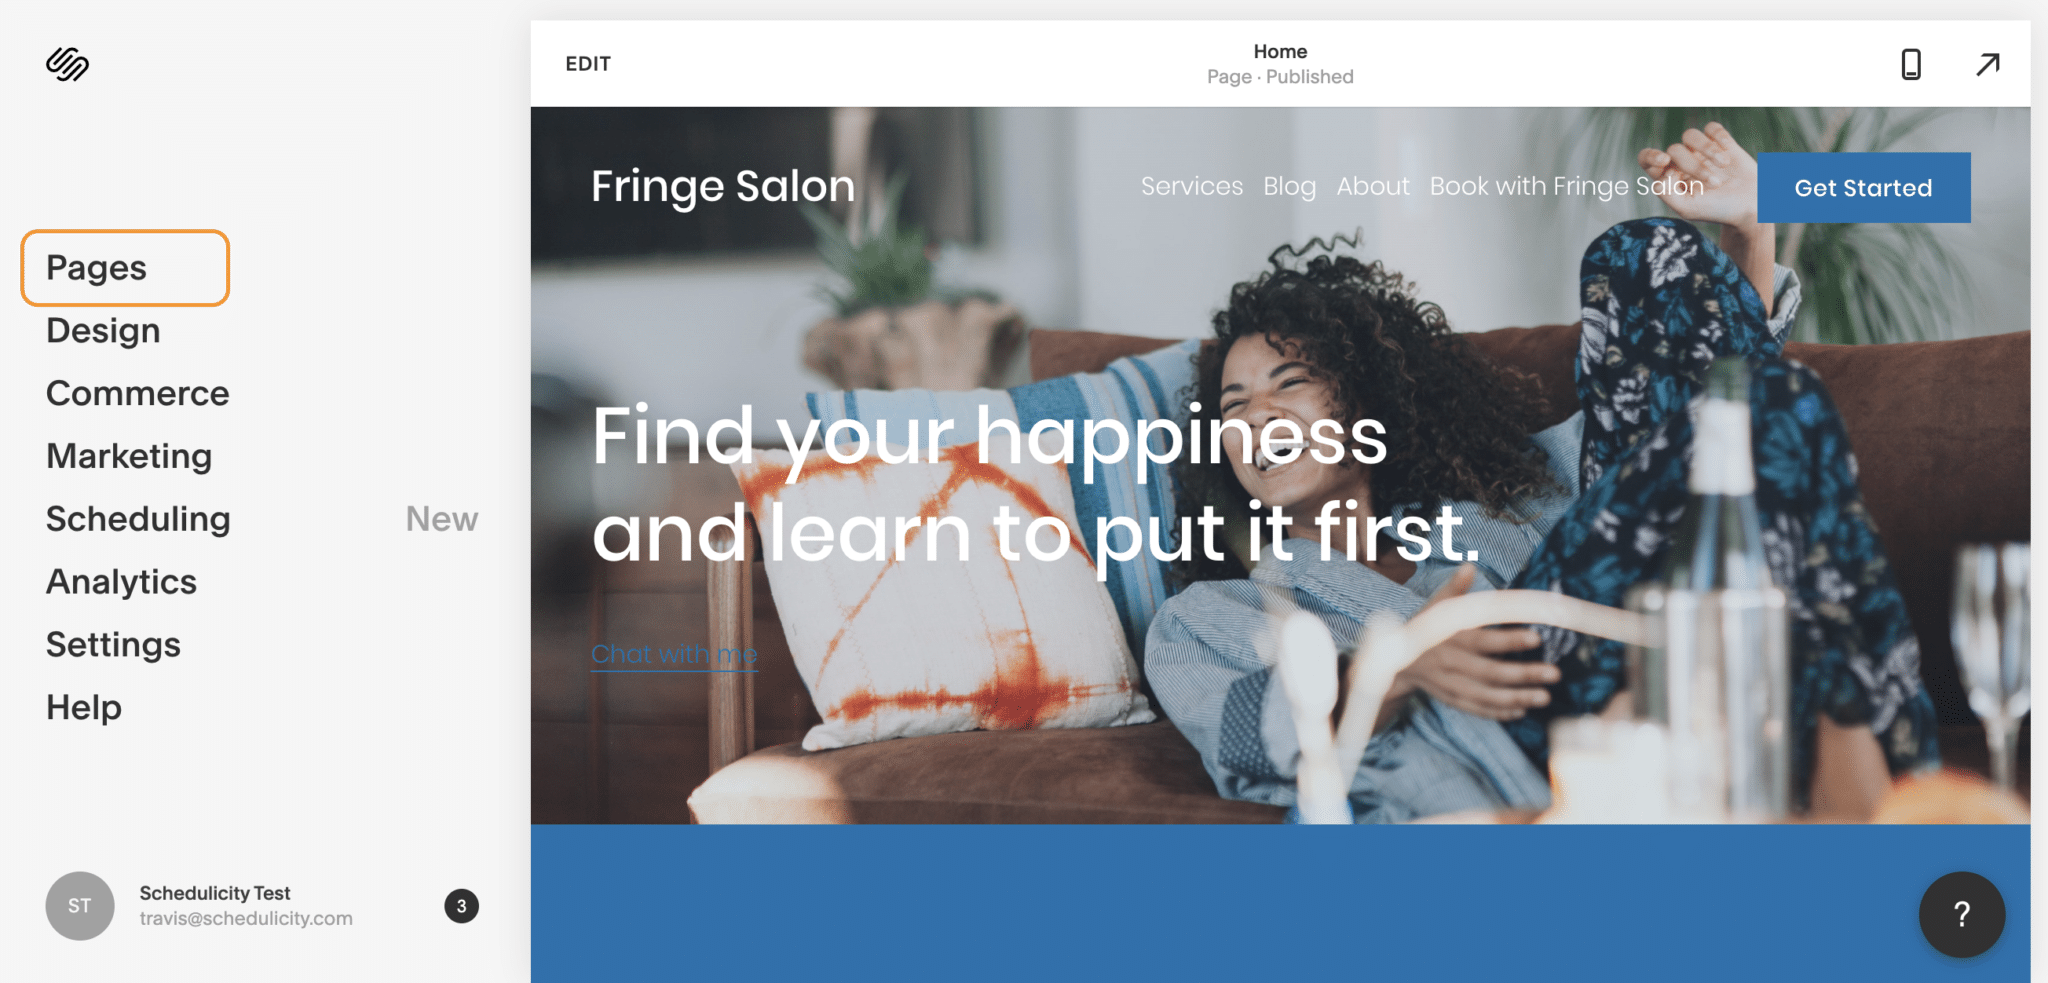
- Navigate to the Marketing section of your account and click on the Widgets tile.
- Pick from the two types of widgets:
- Schedule Now button: Choose the size and color of the button you’d like to use.
- Scheduling widget: Choose between the Embedded widget to add a section built right into the page, or the Overlay widget that hovers on the right edge of the page and triggers a pop-up booking screen.
- After picking the widget you want to use, copy the code generated below, and paste it into the body section of your website (with the help we provide below!)
3. To put the code into your site, tell us which web host you use.
We have tailored instructions for each site for the best help possible.
WordPress Widgets
Schedule Now Button
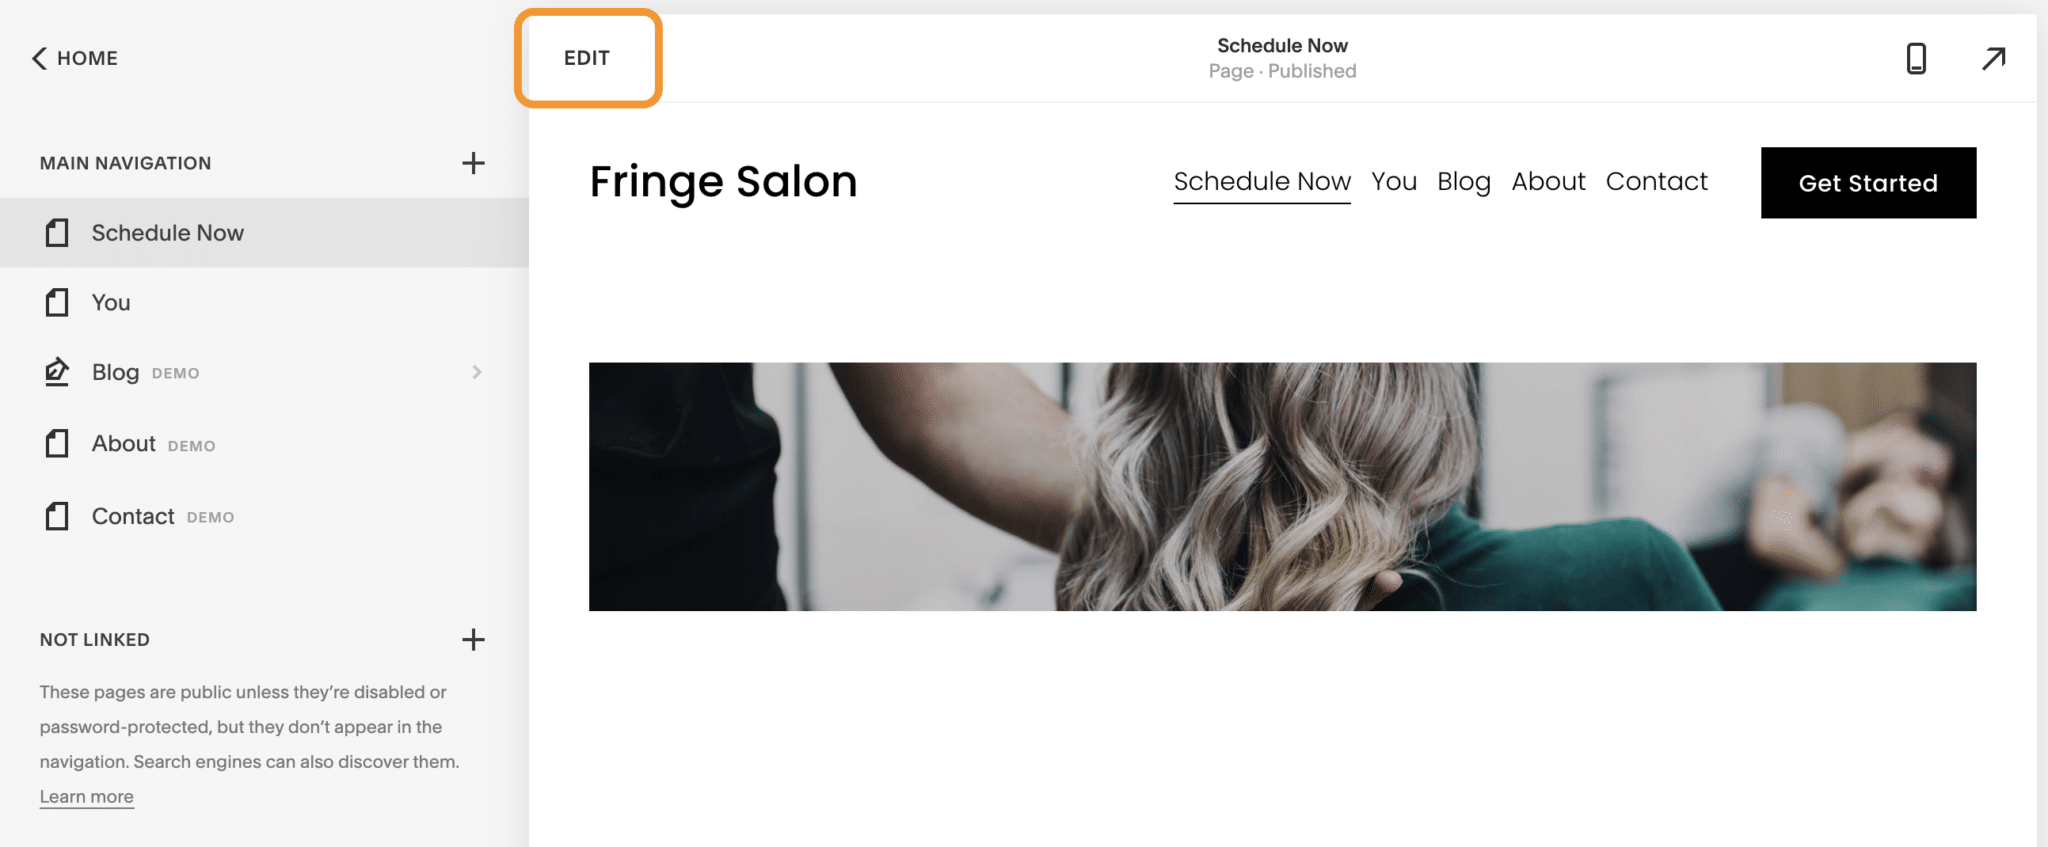
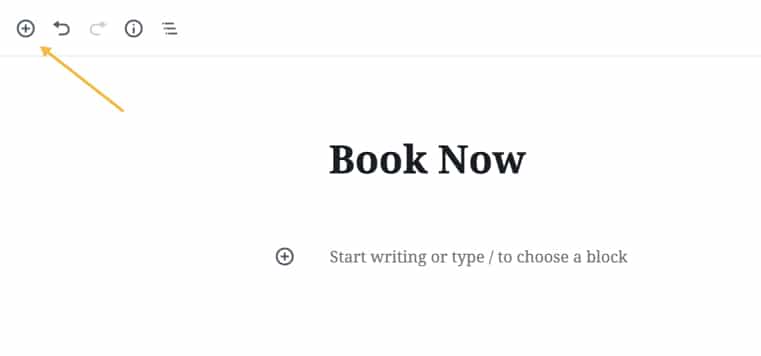
In your WordPress editor, navigate to the page you want to add your Schedule Now button. Click on the “+” button on the upper left.

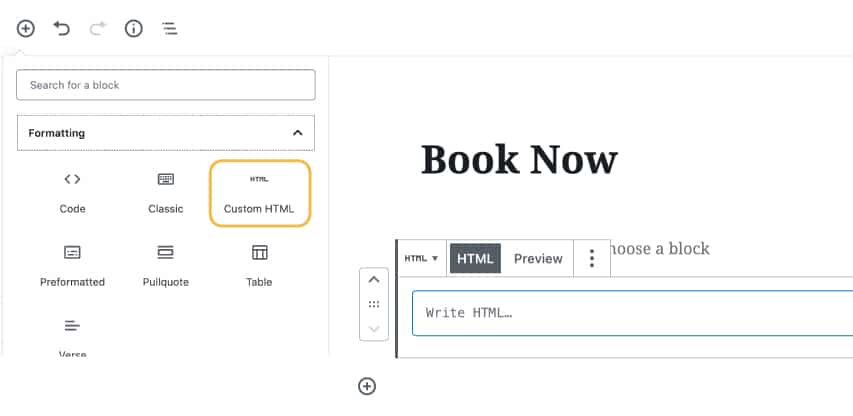
Find and click on “Custom HTML” to input an HTML field on your page.

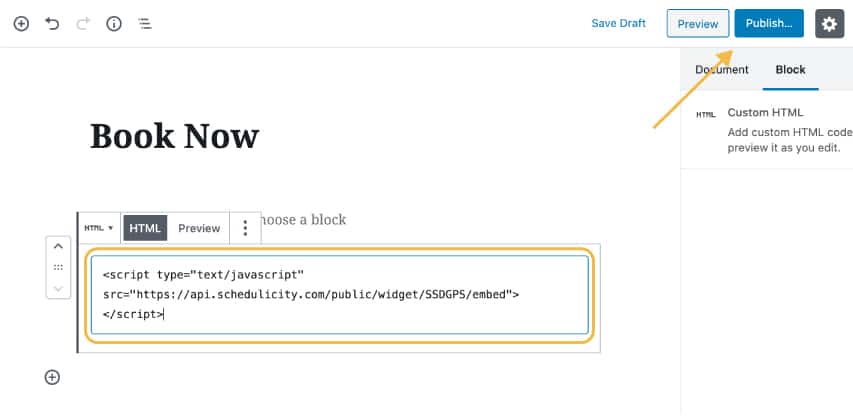
Paste your button code (found in your Schedulicity account, instructions above) and click “Publish” or “Update” to save your changes.

Voila! When you view your page, you’ll see your new, working Schedule Now button!

Scheduling Widget
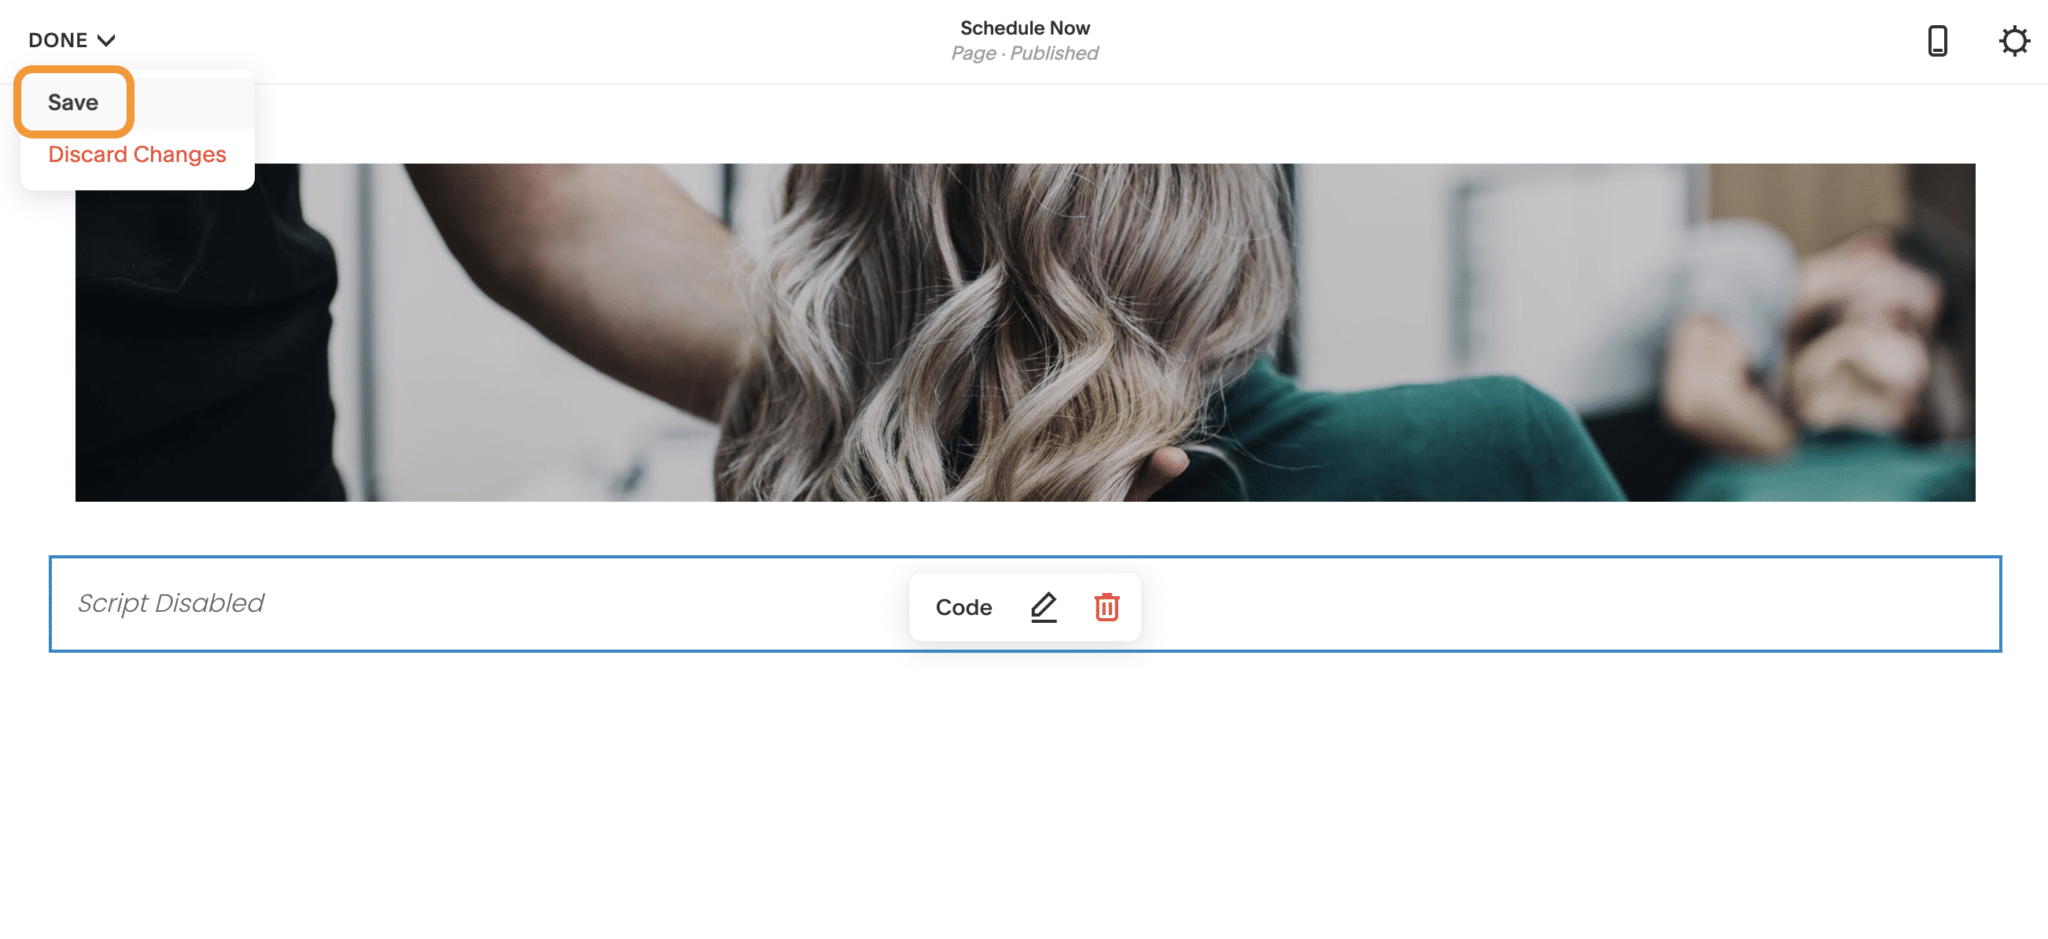
In your WordPress editor, navigate to the page you want to add your booking window. Click on the “+” button on the upper left.
Find and click on “Custom HTML” to input an HTML field on your page.
Paste your booking window code (found in your Schedulicity account, instructions above) and click “Publish” or “Update” to save your changes.
Voila! Your clients can now book with you without leaving your website.